Thinking about selling your West Knoxville home and wondering what to do first? Staging can turn good rooms into great photos and welcoming spaces that buyers remember. You want simple, cost-smart steps that fit local homes and buyer expectations without turning your life upside down. This guide gives you a practical, room-by-room checklist tailored to West Knoxville, plus timelines, budgets, and pro tips to help your home shine online and in person. Let’s dive in.
Why staging matters in West Knoxville
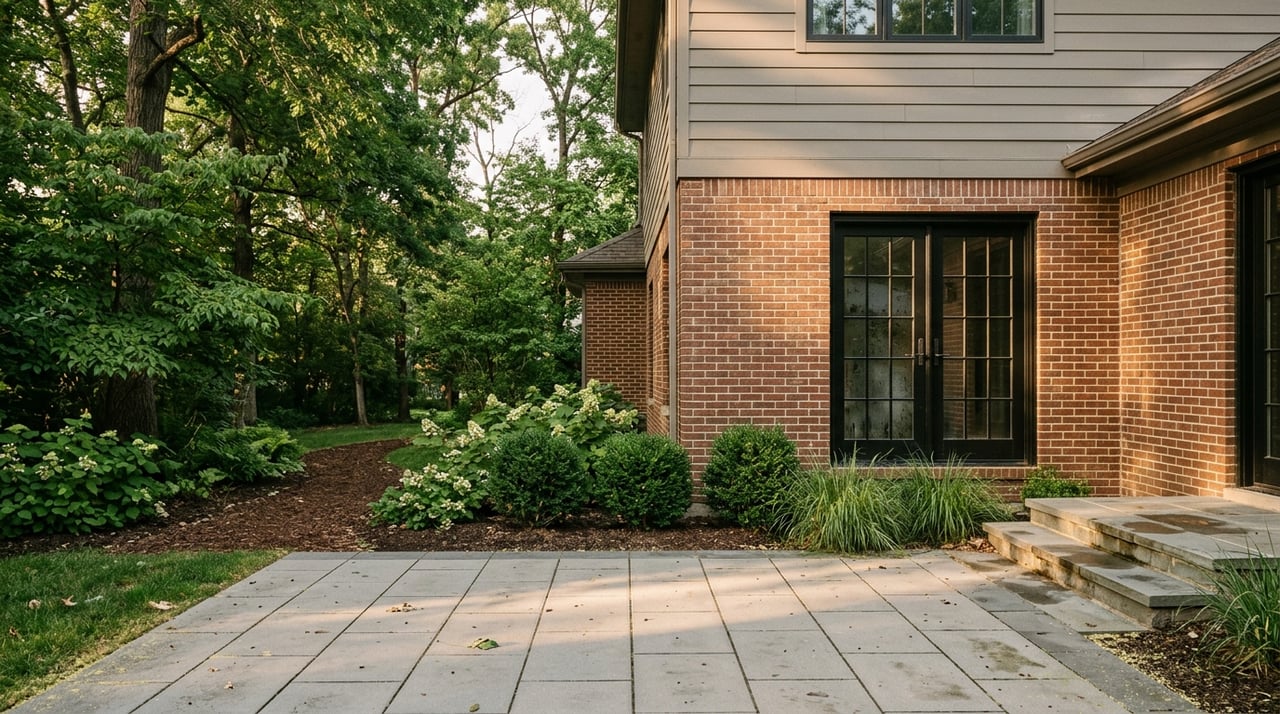
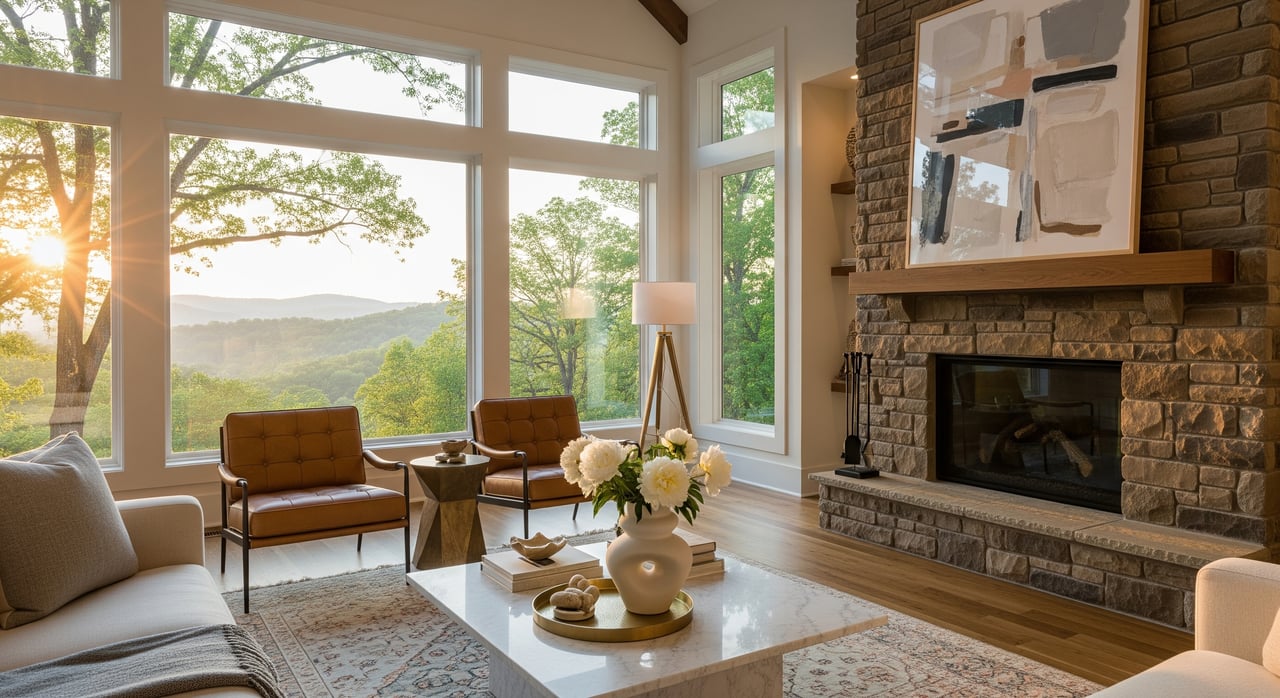
West Knoxville includes a mix of mid-century ranches, split-levels, and newer suburban homes, often with wooded lots, basements, and outdoor living areas. Buyers pay attention to usable living space, storage, updated kitchens and baths, and well-presented decks and porches. Effective staging highlights these features while keeping the overall look neutral and welcoming.
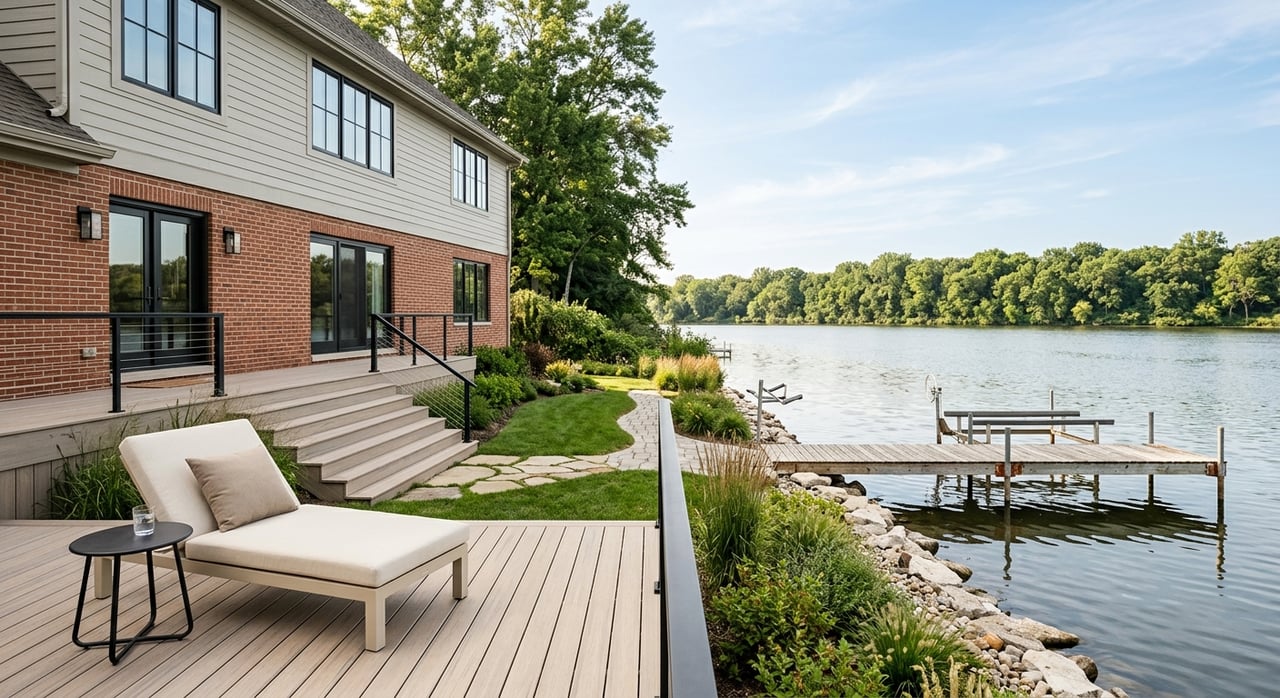
Seasonality also plays a role. Spring typically brings more buyer activity, so fresh landscaping and curb appeal are smart investments. Summers are hot and humid, which makes shaded outdoor spaces and well-functioning HVAC appealing. In fall, tidy beds and clean hardscape help your photos pop against autumn colors.
Staging helps buyers visualize how they could live in your home and strengthens your online presence. It can improve first impressions and perceived value, especially when paired with professional photography. Results vary by property and market conditions, but staged homes often capture more attention sooner.
Core staging principles that work
- Declutter to make rooms feel larger and calmer.
- Depersonalize by removing personal photos and strong opinion pieces.
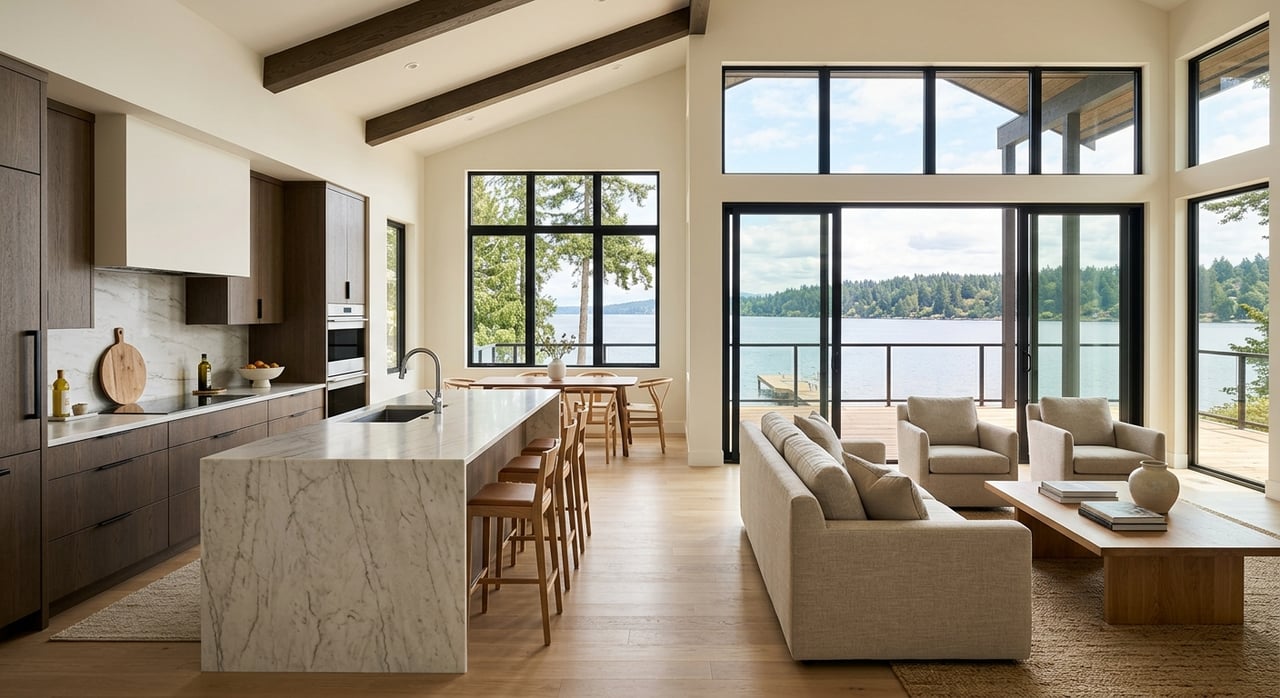
- Create a focal point in each room: fireplace, view, or a balanced seating area.
- Emphasize flow and function with a clear furniture layout.
- Maximize light by cleaning windows, opening blinds, and adding lamps.
- Keep colors neutral with small, warm accents for interest.
- Right-size furniture so rooms read at true scale.
- Keep scents light and neutral to avoid distractions.
Your West Knoxville staging checklist
High-impact first pass
Start here before anything else. These items shape your listing photos and first impressions.
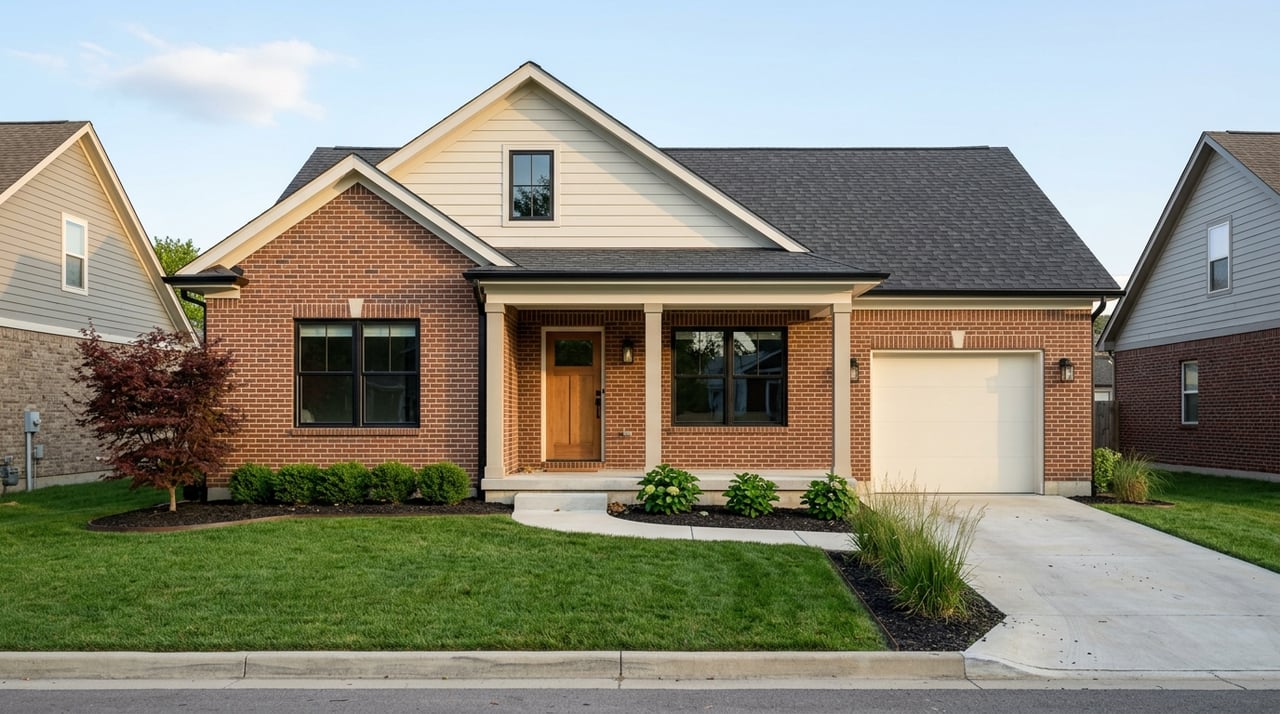
- Curb appeal: mow, edge, weed, and pressure-wash as needed. Add simple planters.
- Front entry: repaint a worn door, update bulbs, and place a clean, simple rug.
- Whole-house deep clean: floors, windows, baseboards, kitchens, and baths.
- Kitchen: clear the counters, shine the sink, and ensure appliances are spotless.
- Primary bedroom and main living area: neutral bedding and a balanced seating layout.
- Schedule professional photography after staging is complete.
Exterior and curb appeal
- Trim shrubs away from windows and remove dead plants.
- Clean and repair gutters; wash siding, steps, and rails.
- Replace burned-out bulbs with warm LEDs for evening showings.
- Stage outdoor areas with simple seating, cushions, and an outdoor rug.
- If your lot is wooded, clear leaves and define pathways.
Entry and first impression
- Remove shoes, coats, backpacks, and excess furniture.
- Add a small console or shelf with one low-profile decorative item.
- Improve lighting with a brighter bulb or a slender lamp.
- Place a neutral doormat inside and out.
Living room and gathering spaces
- Create a conversation area that highlights a focal point like a fireplace or view.
- Float furniture when it improves flow; avoid crowding walls.
- Use an area rug that fits the seating arrangement.
- Remove personal photos and polarizing decor. One plant or a single art piece is enough.
Kitchen
- Clear counters, leaving only one or two items: a fruit bowl, vase, or coffee station.
- Clean appliances inside and out; remove items from the fridge door.
- If budget allows, update dated fixtures with simple, modern lighting.
- Tighten or replace mismatched or worn cabinet hardware.
- Organize pantry shelves to show capacity; remove expired items.
Dining area
- Set the table minimally with placemats and a simple centerpiece.
- Ensure all chairs match and are in good repair.
- Leave plenty of space to walk around the table.
Bedrooms
- Primary bedroom: use neutral bedding and layered pillows to create a calm look.
- Remove bulky or extra furniture to open sight lines.
- Kids’ rooms: keep decor simple and age-neutral; store toys neatly.
- Organize closets to project generous storage.
Bathrooms
- Re-caulk and re-grout where needed for a fresh, clean look.
- Replace worn hardware or faucets if they are visibly dated.
- Clear counters and store personal items out of sight.
- Hang clean, neutral towels and add one small decorative piece.
Basement and finished lower level
- Define the purpose: media room, home gym, guest suite, or office.
- Control humidity with a dehumidifier; address musty odors.
- Show functional storage with organized shelving.
Attic, garage, and storage
- Declutter and donate or store off-site.
- In the garage, park one car if possible to show space.
- Tidy shelves and label bins to suggest order and capacity.
Outdoor living spaces
- Treat decks, patios, and screened porches like rooms: seating, side tables, and minimal decor.
- Clean railings and steps; repair loose boards.
- Highlight shade and screening features in your listing description and photos.
Staging vacant homes
Vacant homes often feel smaller and colder in photos. Consider partial physical staging for the living room, dining area, kitchen, and primary suite. This provides scale and warmth without furnishing every room. If permitted by your MLS and brokerage, virtual staging can supplement your marketing, but be sure any virtually staged images are clearly disclosed according to local rules.
Budget, timeline, and who does what
A realistic staging plan starts a few weeks before professional photos.
- 2 to 4 weeks before listing: deep clean, declutter, repair small issues, refresh paint touch-ups, and handle curb appeal.
- Add 2 to 6 weeks for bigger projects like carpet replacement or cabinet work.
Items to budget for:
- Deep cleaning and carpet cleaning
- Minor repairs and paint
- Curb and landscaping refresh
- Temporary furniture rental or professional staging for key rooms
- Professional photography and, optionally, twilight shots
- Short-term storage or organizing support
DIY vs. professional stager:
- DIY works if you have time, a good eye, and access to storage.
- Hire a pro if the home is vacant, the layout is tricky, or you want maximum impact fast. Ask for a written plan detailing which rooms will be staged, what furnishings will be used, and how long rentals will remain in place.
Photography and listing preparation
- Always stage before photographs are taken. Strong images drive online interest.
- Use a professional real estate photographer experienced with interiors, exteriors, and twilight images.
- Keep lighting consistent across rooms by matching bulb color temperatures.
- Capture the most marketable areas: kitchen, primary suite, main living spaces, storage solutions, and outdoor living.
- If virtual staging is used, follow your MLS and brokerage rules for clear disclosure. The Knoxville Area Association of REALTORS can provide guidance on local practices.
Health, safety, and disclosure reminders
- Lead-based paint: if your home was built before 1978, federal law requires providing the lead paint disclosure and the official pamphlet to buyers.
- HOA restrictions: review association rules before exterior changes or sign placement.
- Seller disclosures: Tennessee law requires disclosing known defects. Staging improves presentation, but it does not remove disclosure obligations.
Open house and showing day checklist
- Turn on all lights and open blinds.
- Put away dishes, personal toiletries, and visible medications.
- Store toys, pet items, and laundry out of sight.
- Set thermostats for a comfortable temperature, especially in summer.
- Take pets off-site if possible.
What to remove before photos
- Personal photos and collections
- Religious or political items
- Excess furniture that blocks pathways
- Refrigerator magnets and counter clutter
- Visible paperwork, medications, and valuables
Ready for the next step?
If you want expert eyes on your specific home, a local walkthrough can refine this checklist into a room-by-room action plan that fits your timeline and budget. From staging guidance to polished photography and marketing, our team can help you present your home at its best and reach more qualified buyers. Connect with The Cook Team to schedule your personalized listing and staging consultation.
FAQs
How long should I keep my West Knoxville home staged?
- Maintain staging from photo day through the first several weeks on market or until you accept an offer, since early momentum is critical.
Which rooms in a West Knoxville home deliver the biggest staging impact?
- Prioritize curb appeal, the entry, main living area, kitchen, primary bedroom, and the main bath before moving to secondary spaces.
What is a realistic staging budget for a typical West Knoxville listing?
- Budgets vary by scope, from light DIY decluttering and deep cleaning to partial or full professional staging with furniture rentals; weigh costs against your pricing and timing goals.
Should I stage a vacant property or use virtual staging in Knoxville?
- Physical staging in key rooms usually photographs and shows better, while virtual staging can supplement marketing if it is allowed and clearly disclosed per MLS and brokerage rules.
What fast, low-cost changes make the biggest difference before listing?
- Deep clean, declutter, freshen the entry, and boost curb appeal with tidy beds and a couple of planters for immediate impact in photos and showings.